Add Stage
You have now created a blank pipeline, as described in the previous section. After creating the pipeline, you need to add a stage to it. A stage in a pipeline is the set of actions you want the pipeline to take while executing it.
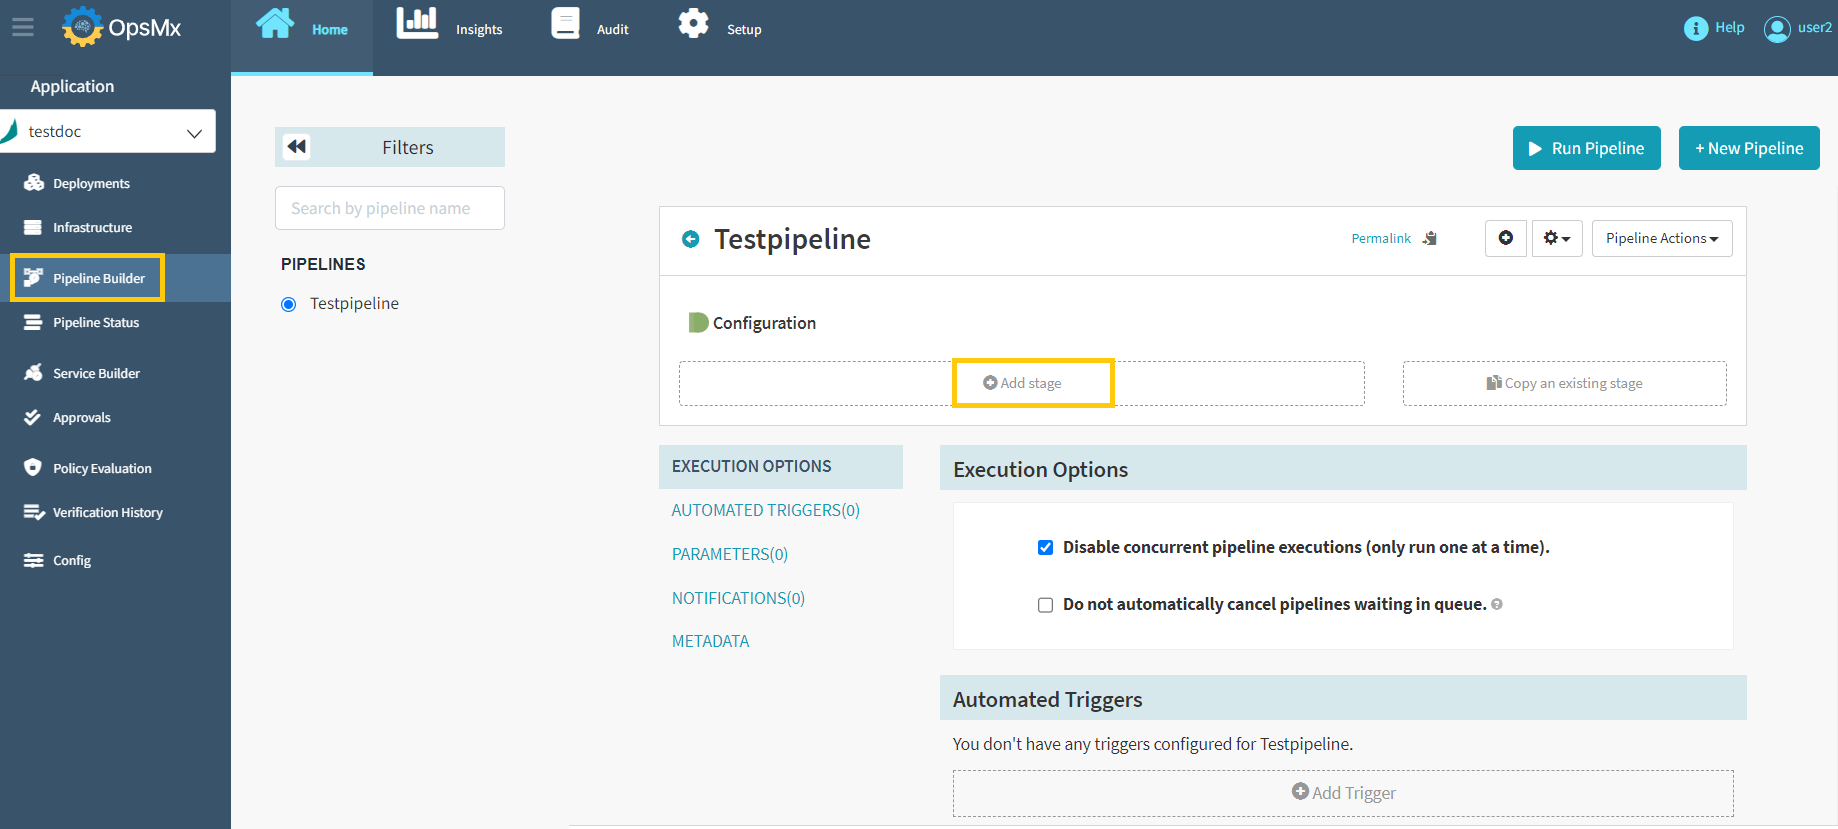
The first stage of any pipeline is the configuration stage in which you can add a stage and set up the parameters. Follow the steps below to add the first stage.
-
From the Pipeline builder page, click "Add Stage" button to add a stage for the specific pipeline.
-
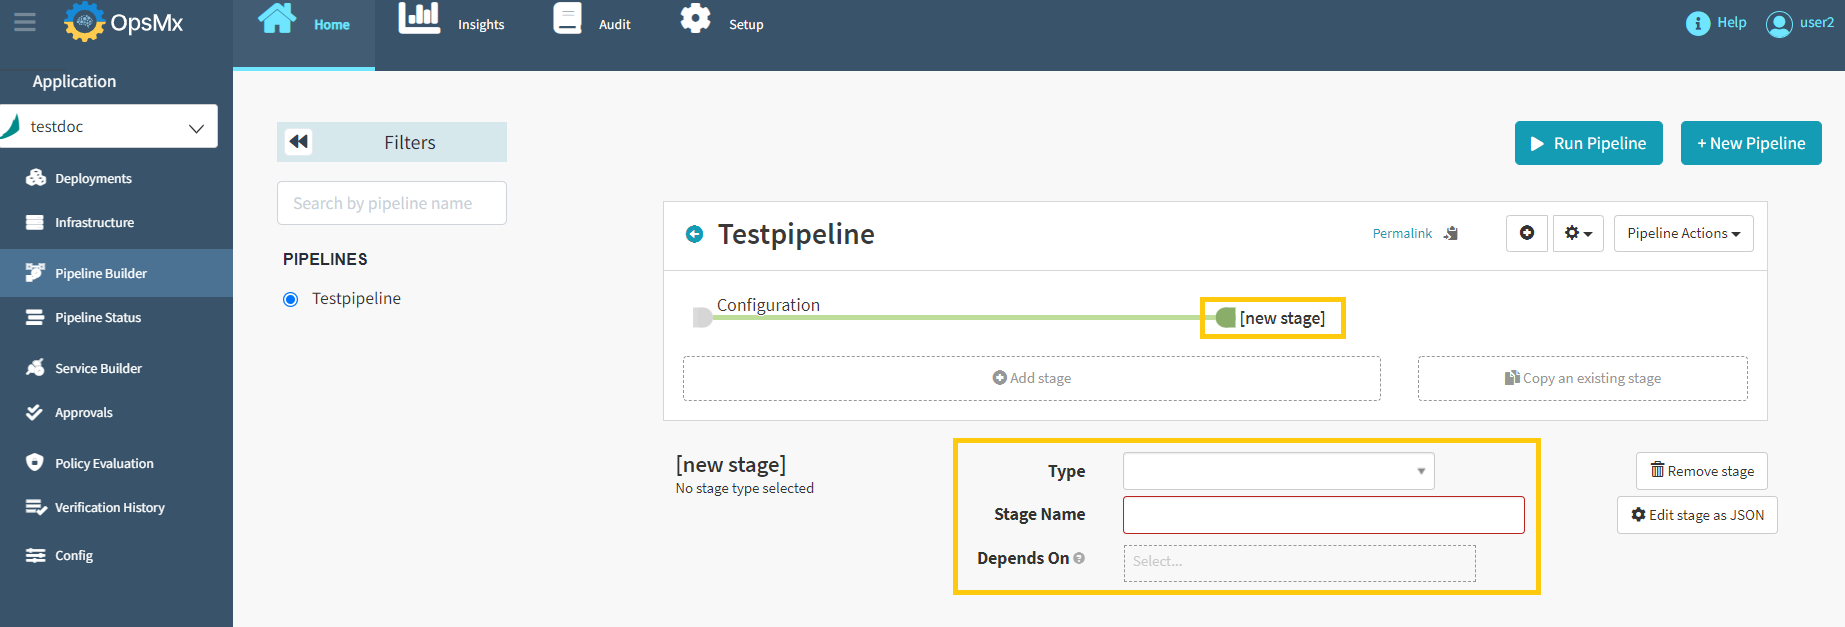
When you click the "Add Stage" button, you can select many different types of stages that ISD supports.
-
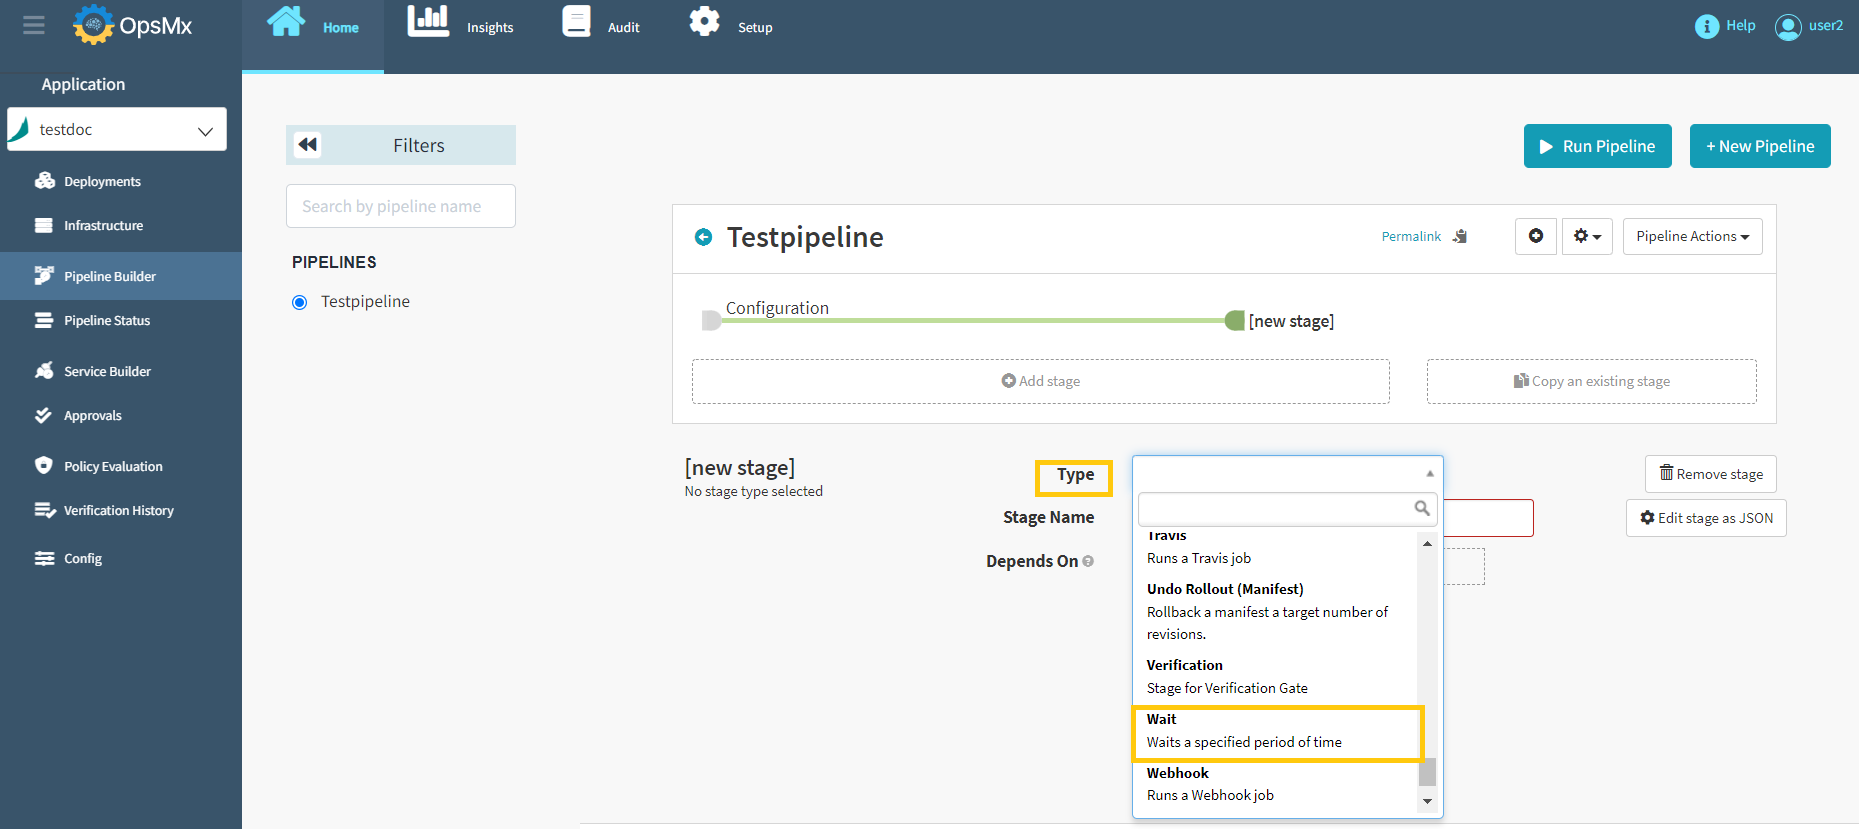
Select the stage type as "Wait" from the drop-down menu and the configuration options will be displayed.
-
After selecting the stage type, provide the "Stage Name" and enter the "wait time(In Seconds)" and select the “Execution option” and then click "Save Changes".
Note
Configuration options may differ depending on the stage selected. We've shown an example of the "Wait" stage here.
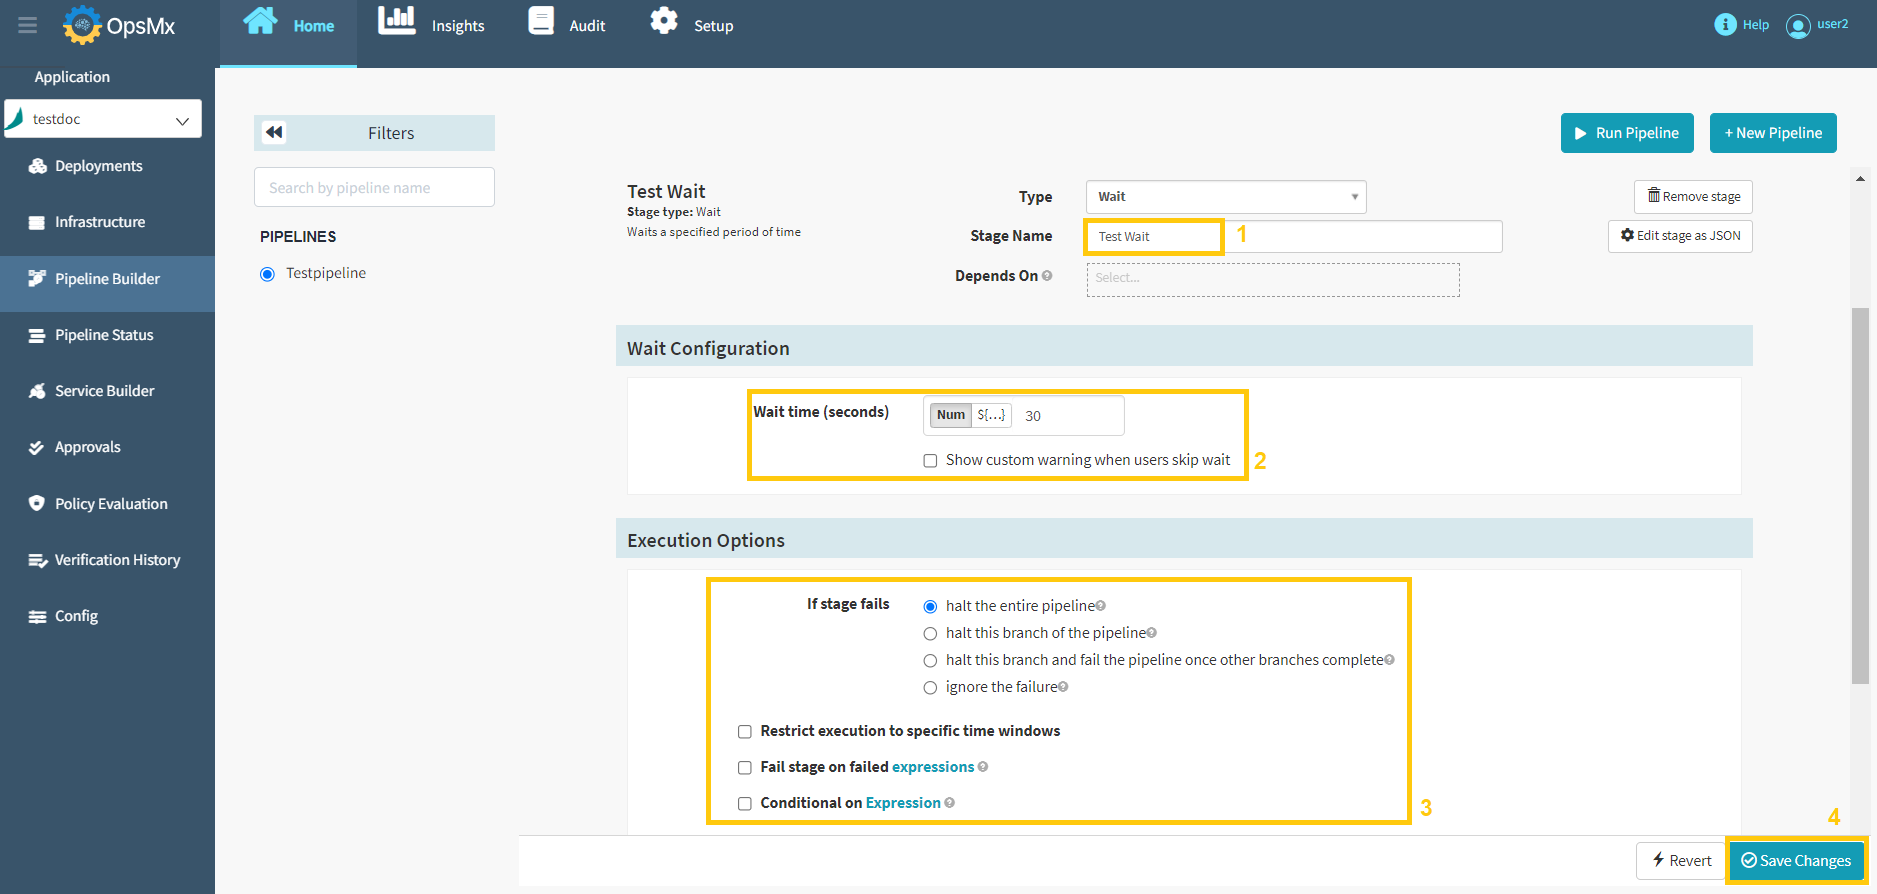
Now the “Wait” stage is added successfully. You can add as many stages in the pipeline as needed, in any order, as per your requirement. Next, we'll look at how to add a trigger and run a pipeline to it.